

This is a tutorial on how I made the mason jar candleholders and bead strands. You can see them on display here.
Having been a crafter for ages, I really just needed to raid my craft drawers for supplies:

I confiscated the following:
Jute twine
Brown paper-covered wire
Steel craft wire
Clear nylon thread
Stones
Plastic beads (clear and colored)
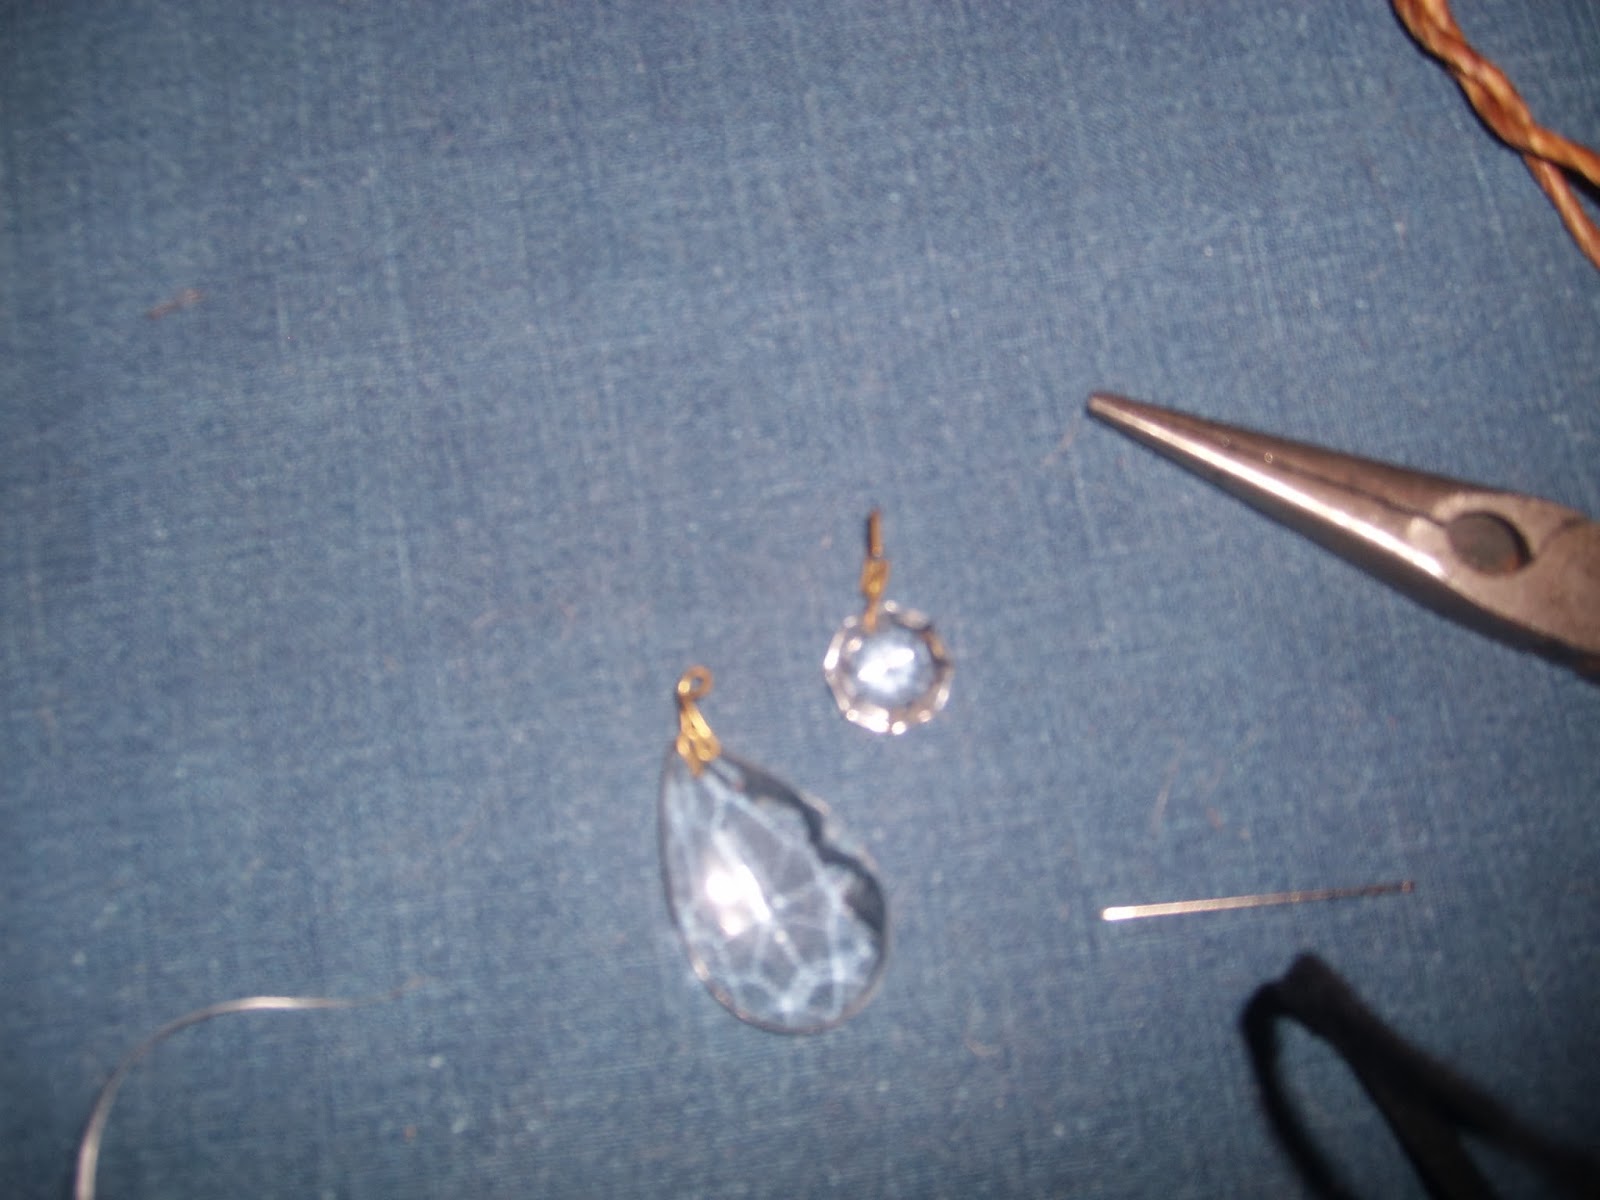
Left-over chandelier prisms
A needle
A measuring tape
Thread snippers
Needle-nose wire cutters.
I also had a few battery-operated candles on hand and some empty mason jars on my canning shelves. I did have to buy some more candles, and I only had a few prisms, so I bought some large tear-drop shaped beads for the ends of the strands. They were much less expensive than the prisms and worked just as well. You may not have all of these things on hand, but look around in your junk drawers and on your work bench and see what you have that would work just as well.

For each jar, measure and cut an 18" piece of steel wire. Twist one end into a tight loop, leaving a long extension.

Wrap the wire around the rim of the jar and twist another loop at the half-way point. Continue to wrap the remainder of the wire securely around the jar rim and twist the ends together where they meet at the first loop. Snip off the excess wire.

Cut a 12" piece of the paper-covered wire. (You can use any kind of wire for this. I like the rustic look of the brown-covered wire.) Fold the piece of wire in half and twist it, leaving a loop opening.

Bend the twisted wire in half to form a hook.

Cut a 36" piece of jute string. Wrap it several times around the rim of the jar. Tie one of the ends to each loop of the steel wire. (Note: Jute is a natural fiber and will most likely deteriorate in the sun and rain. Polyester or nylon string would last longer, but I just really like the look of jute. I'm pleased to report that my candleholders have been on the tree for six months now and are holding strong.)

Bring the ends of the string together, slip them through the loop of the hanger, and tie a knot.

Place some stones and a battery operated candle inside the jar and screw the lid on. Be sure to use plastic candles, not wax ones, if they will be out in the sun. If you want to burn real candles, don't place the lid on the jar; just use the hollow band; however, if left outdoors, the jars will collect rain water.

A note about the battery-operated candles: I bought candles with timers. When you flick the switch to "on," they stay lit for six hours and then go off for 18 hours. They come on automatically at the same time each day. Sounds wonderful, right? What I quickly discovered, however, is that because the switch is in the "on" position, the battery continues to slowly drain. The candles came on each evening for about a week before the batteries died. In the winter months, however, they lasted for several weeks. I suppose the summer heat reduces the life of the batteries faster than the cold temperatures do.
Now for the strands of beads. I used very inexpensive faceted plastic beads--mostly clear ones, but I did add a colored bead every so many inches, just for fun. I started out using a needle but discovered that the heavy nylon thread slipped through the holes of the beads quite easily without it.

I made the strands varying lengths . . . some 18", some 15", some 12". Tie a section of a prism or a large plastic tear-drop bead at the bottom end of the strand. Loop a piece of wire or a metal clasp to the top end of the strand and attach it to one of your wire hangers.

Hang your candleholders and bead strands wherever you want to enjoy them. And enjoy them you will! We are just crazy enough to climb up on a ladder in the cold of winter to change the batteries in the candles! You would too, right? Right?

It is my pleasure to give credit for this idea to my friend, Kate from Farmhouse 38. I adore her "bedazzled" grapefruit tree in the center of her California garden. Go check it out! Kate's decorating style, artistry and creative flair are beyond compare. Once you visit her blog, you'll keep going back for more. Have fun!